Entries in bears (2)

Thursday
Mar312011

Day 11 - Closing up the box

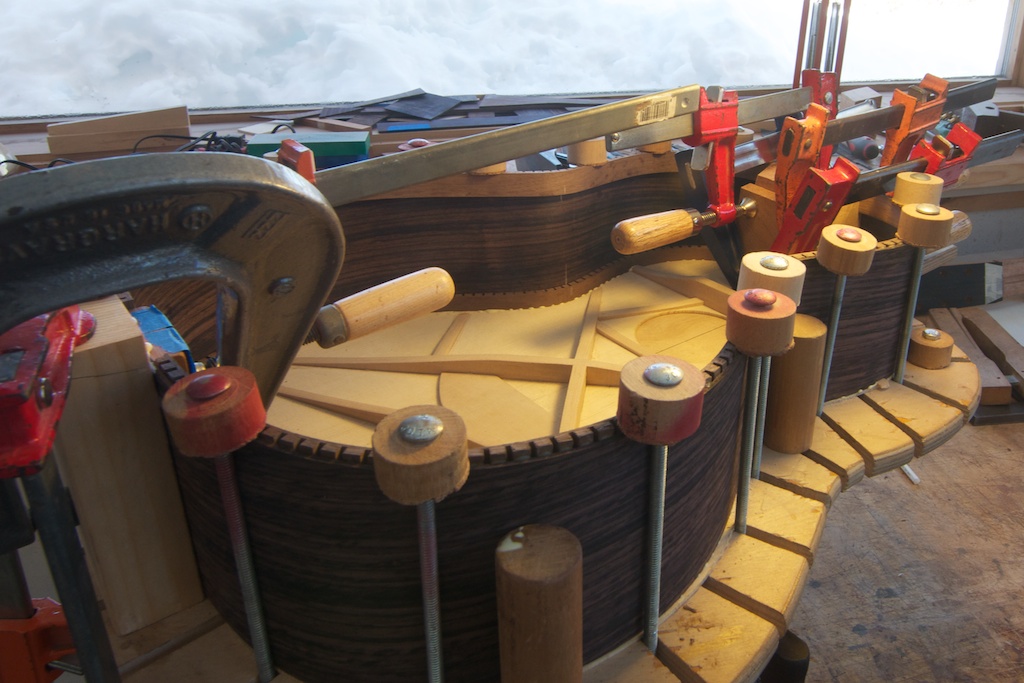
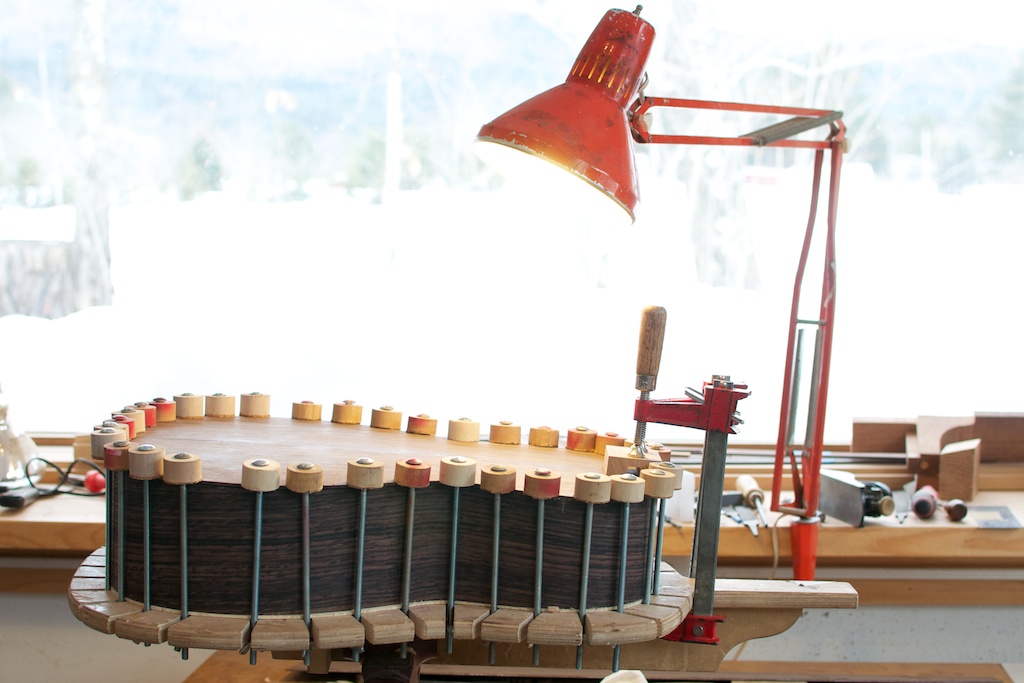
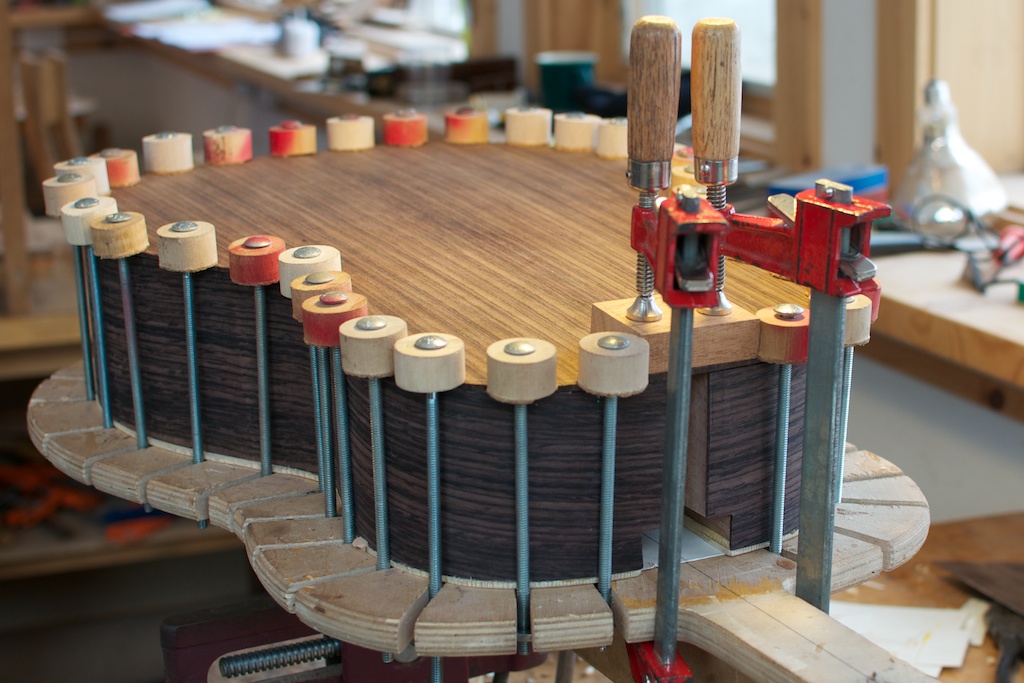
Day 11: Yesterday we got the sides ready to attach to the back; today we started the day getting the back ready to take the sides by trimming up the bracing on the back to fit within the sides. Then we glued on the back; we now have a fully enclosed guitar body!

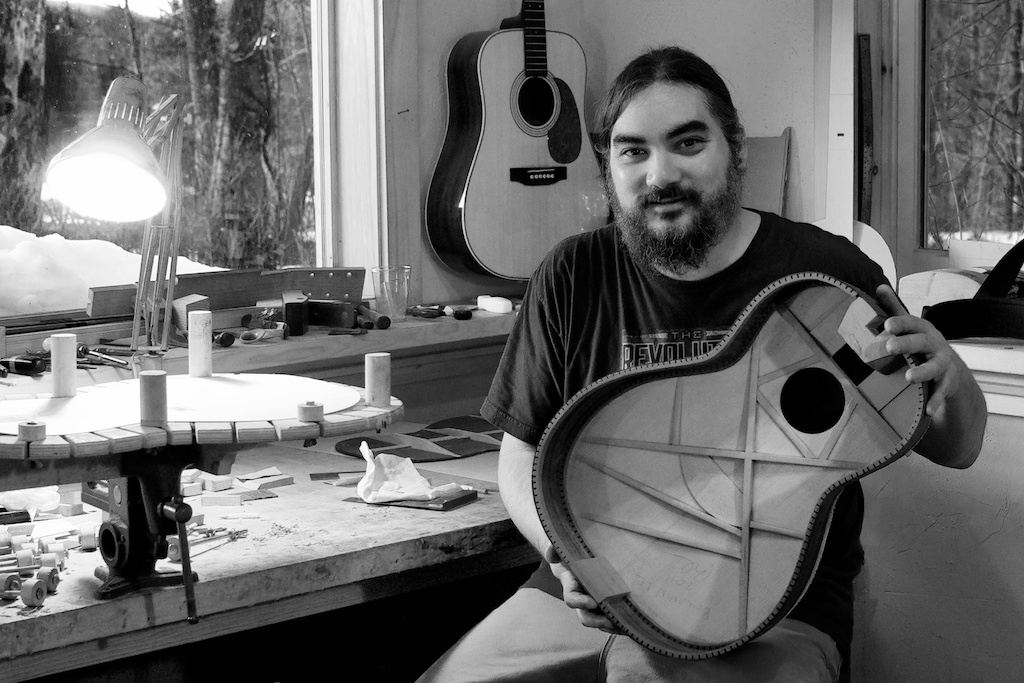
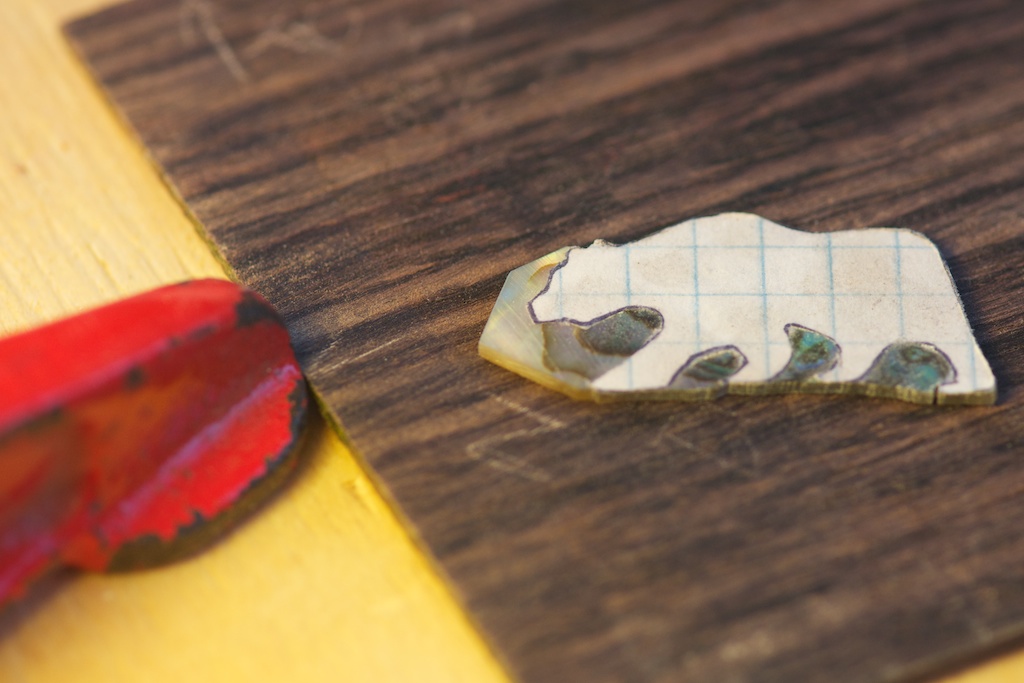
While I waited for the glue to dry in the body, I finished up cutting my headstock inlay. I’m really happy about how it turned out (note, it’s much, much smaller than it looks in this picture...closer to the size of two dimes). This is only about 4 hours of work :-)

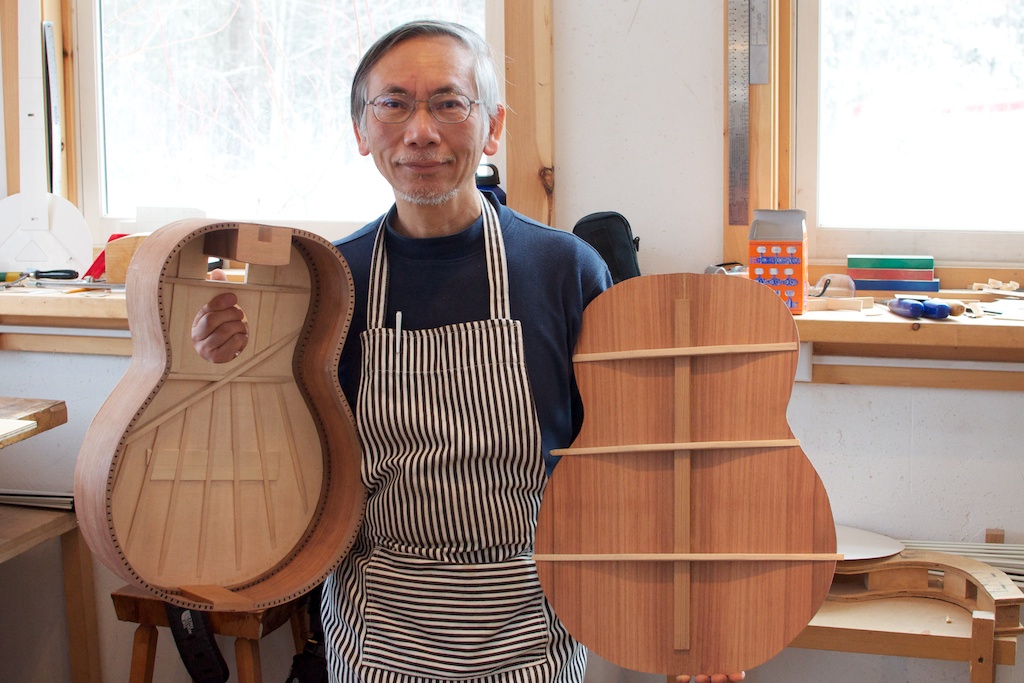
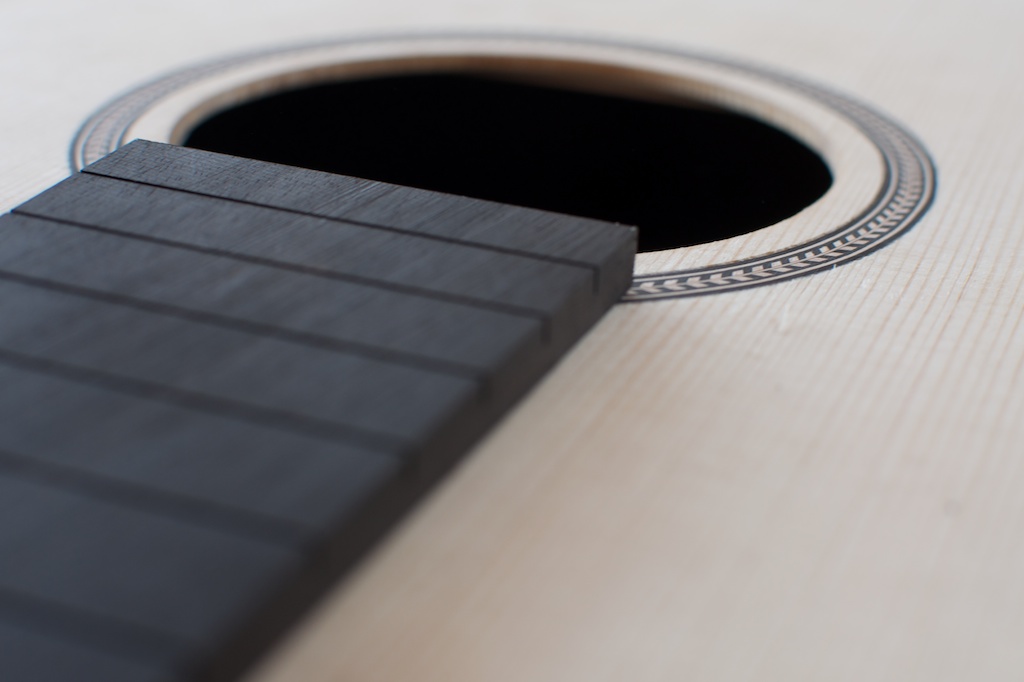
Once the body came out of the clamps, we checked the fit of the neck. In general, the fit of the neck to the body is the thing I’m most anxious about. So far, so good; fingers crossed.

We also began working on the fretboard; a very clever and handy template helped us cut the slots for the frets. My guitar will have 18 frets, although that’s more than twice as many as I typically need! We also cut the shape of the fretboard (edges/length); this was actually easier than I anticipated using the bandsaw for the rough cut and joiner to get the edges straight.

Started at 8:00am, finished at 6:30pm, with an hour for lunch.

Wednesday
Mar302011

Day 10 - Halfway there!

Day 10: We left off yesterday with getting ready to glue the backs and sides together. This morning we complete that task using a series of special clamps designed to provide pressure directly down on the sides to the top. We also glued the end block in place. This is really starting to look like a guitar!

While waiting for things to dry, I spent some time working on my headstock inlay. Using a itty-bitty jeweler’s saw, I began to cut out this little guy in abalone. This is a couple of hours of work; it will probably take at least that much time, if not more, to finish cutting it.

Although there aren’t pictures (since they wouldn’t look particularly exciting), we spend significant time this afternoon getting the sides and back ready to be glue together. This task isn’t as straightforward as gluing the top on. The top is flat and the corresponding surface of the sides are also flat, so assuming everything is as it should be, they go together relatively easily. The back, on the other hand, is slightly arched in both directions and therefore the sides need to be subtlety contoured to provide a flush fit for gluing. In addition, the neck block and end block, which were originally perfectly rectangular, need to be angled ever so slightly to match the curvature of the of the back. Using planes and massive contoured sanding blocks and a lot of working and checking, we slowly worked to make sure that the backs will fit correctly with the sides. I’m sure I’ll have pictures of the fully glued body tomorrow!

Started working at 8am, got home just before 8pm, with an hour for lunch.