Entries in vermont instruments (28)

Friday
Mar252011

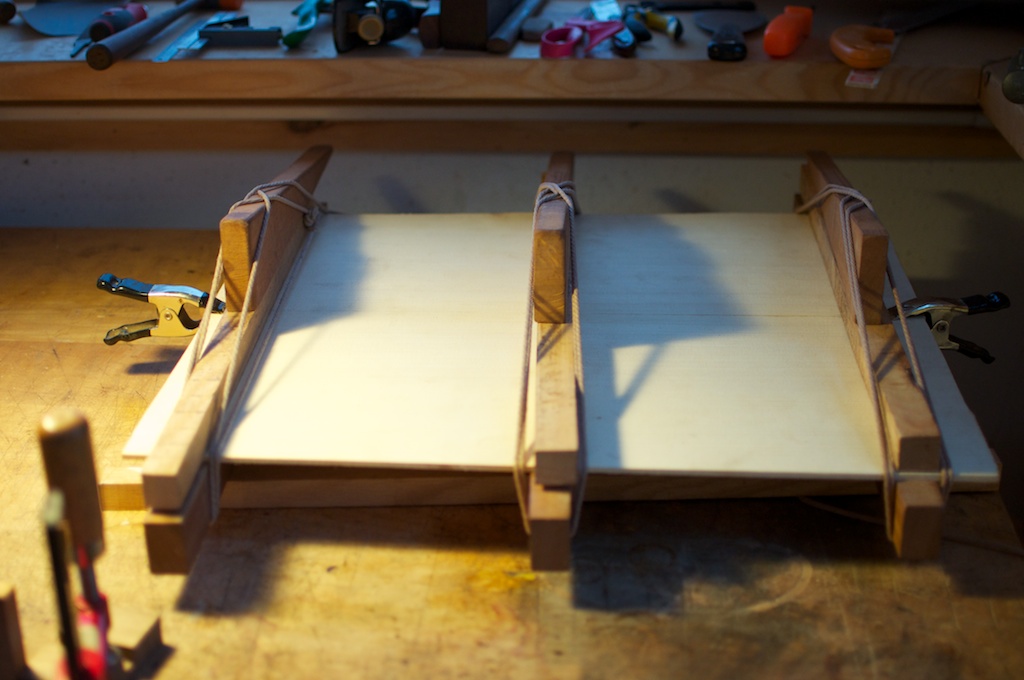
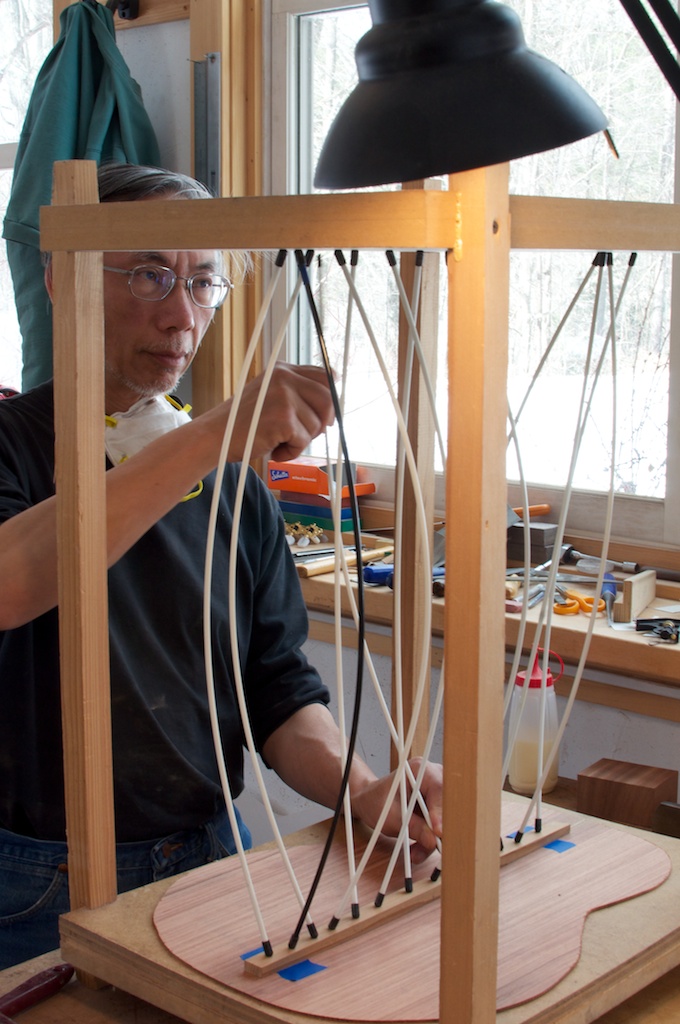
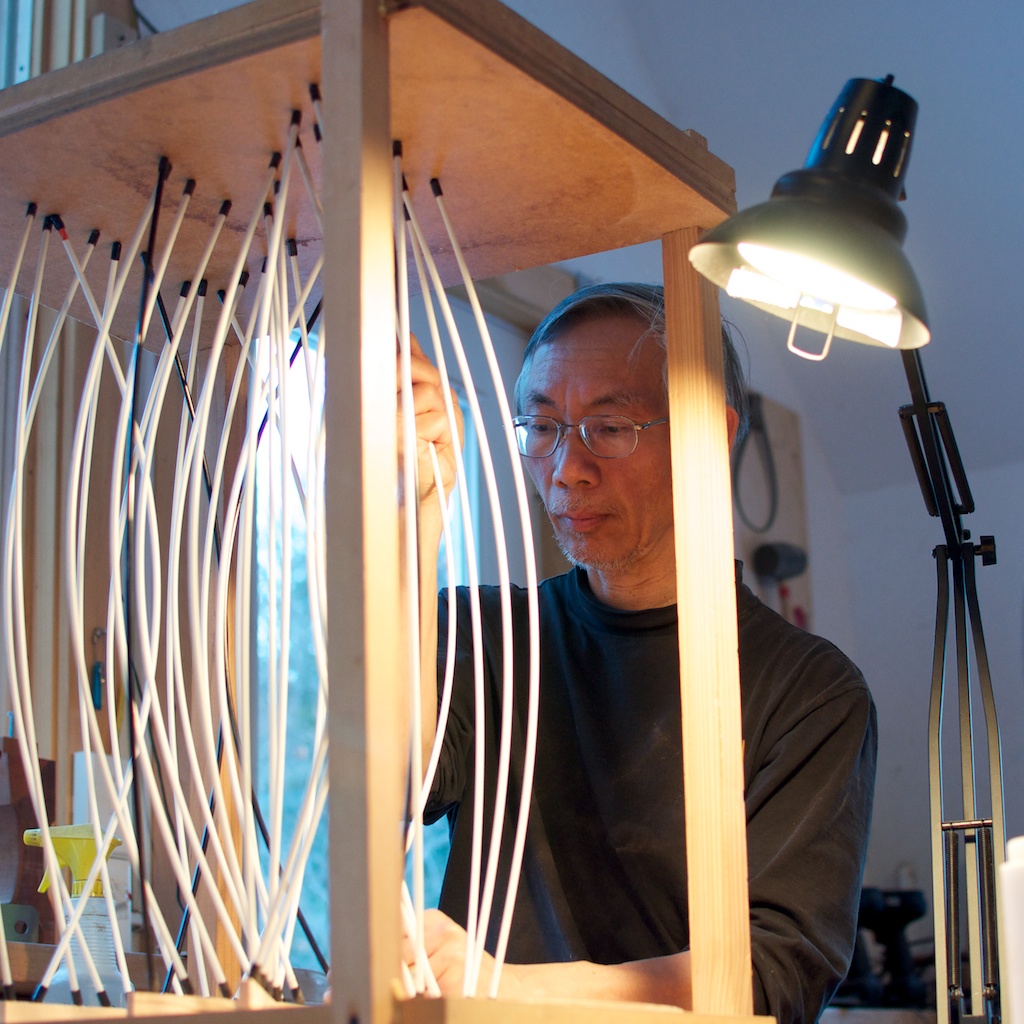
Day 5 - My new best friend = the "go bar deck"

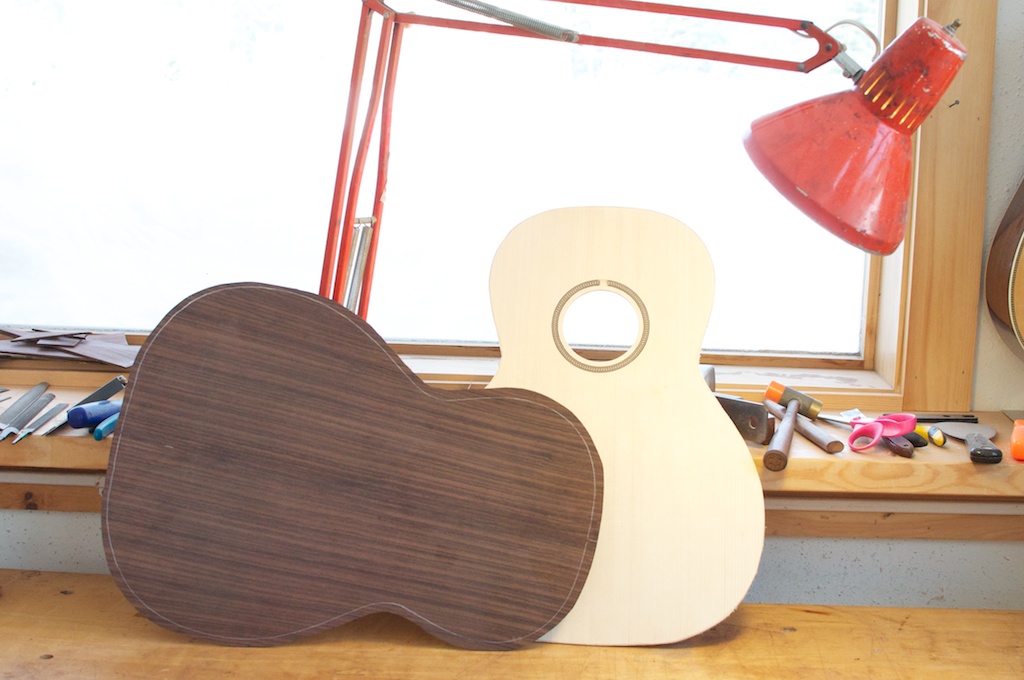
Day 5: Today might have been the most interesting day so far. I’ve been looking forward to doing the bracing of the top, and today we got to beginning doing that. From the pictures and description, it might not sound like a lot was accomplished but it was actually a really busy day. 

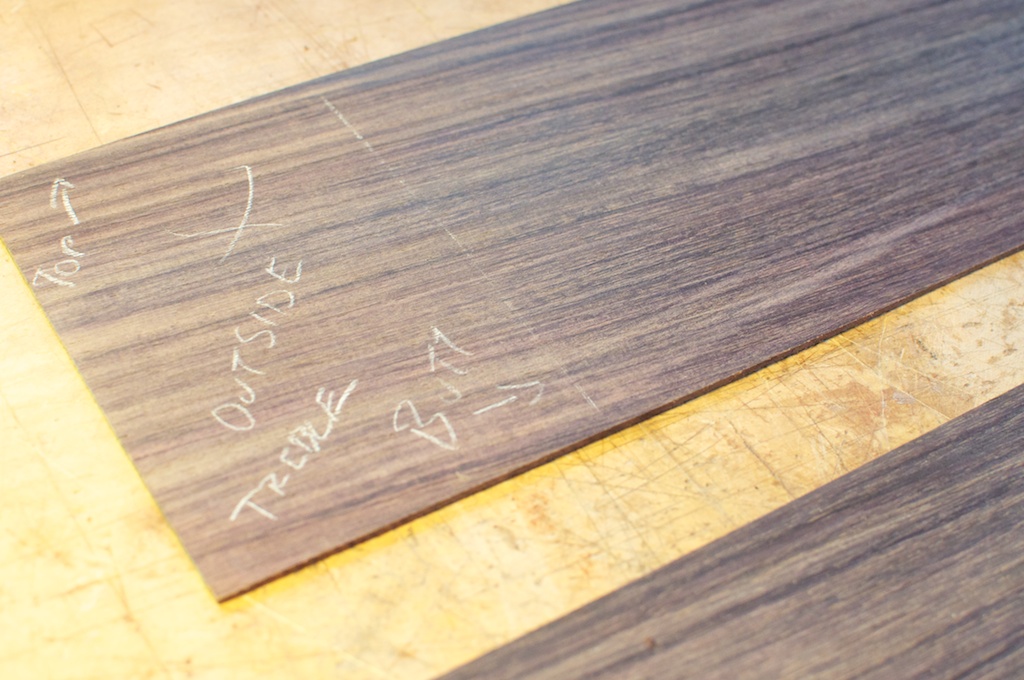
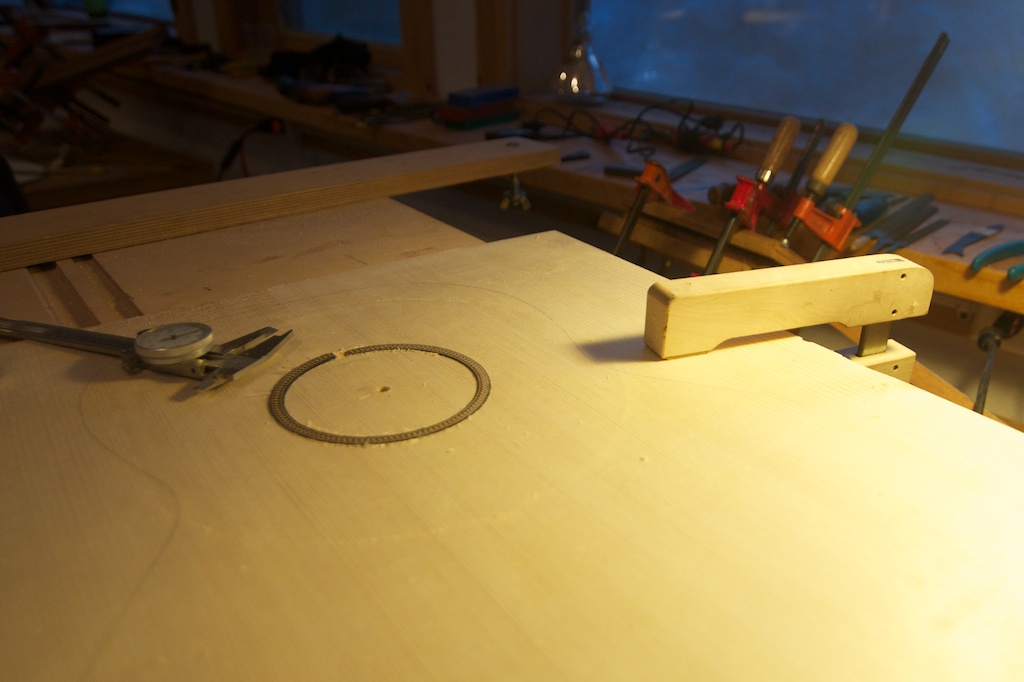
The bracing for the top and back is made with small pieces of very stiff spruce (mostly; the back has one piece of cedar in the design we’re using). The back is radiused, meaning you put a slight arch into it in both directions, so each brace must be carefully shaped to include that curve, so that when they are glued to the back it will be pulled into that radius.

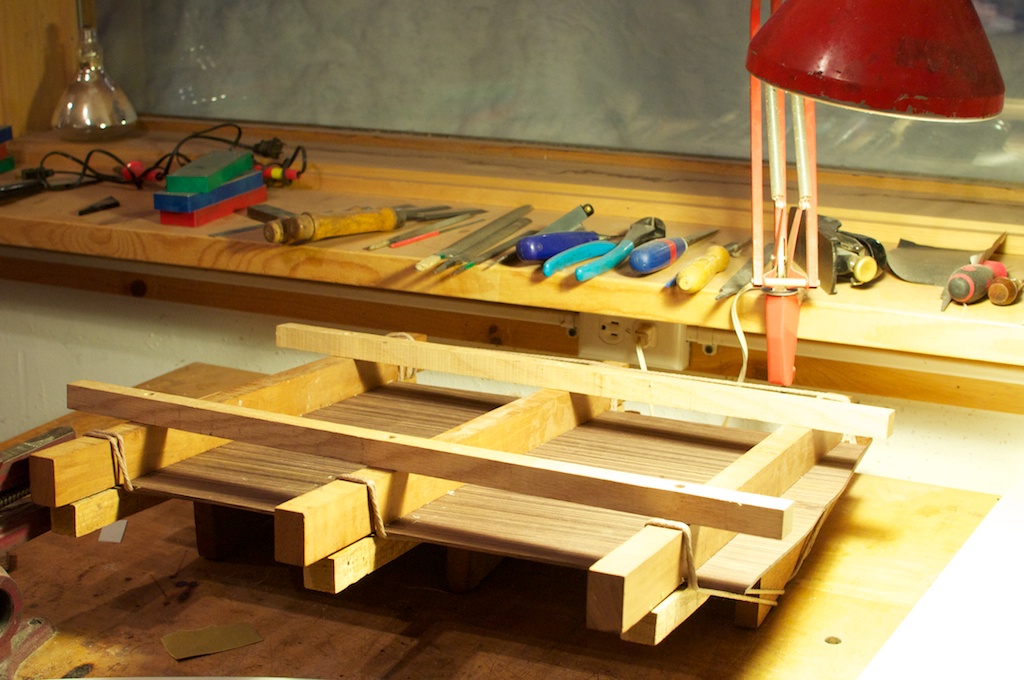
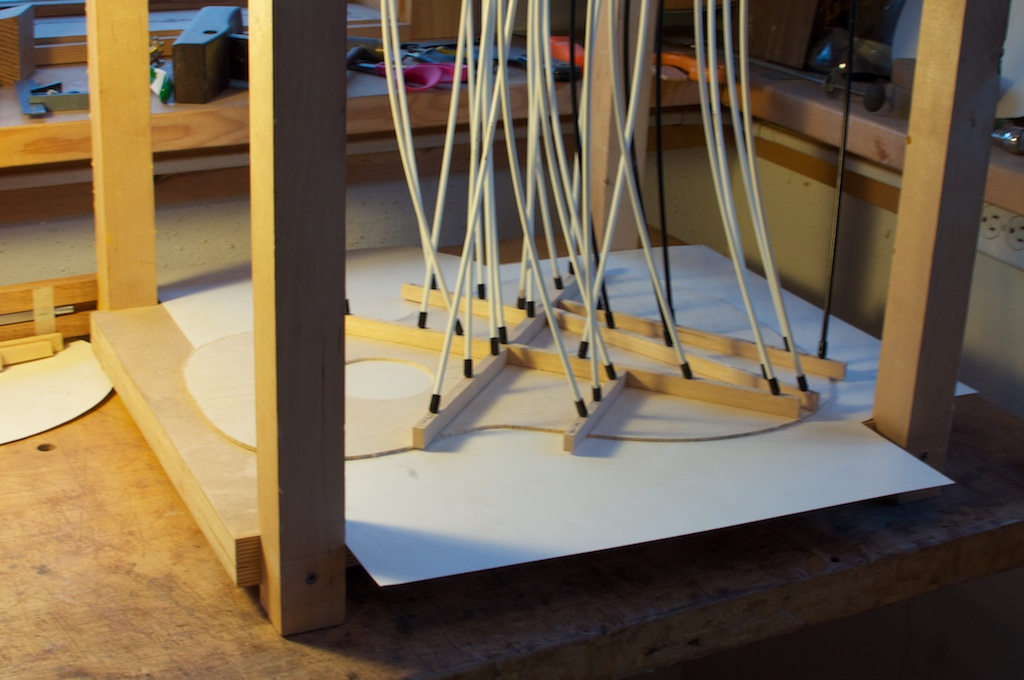
The center back brace was glued into place with the “go bar deck,” which is a frame with a floor and ceiling (one is flat and the other is radiused), just smaller in height than a series of fiberglass sticks (made from the same material as kite poles). Right now it’s a bit oversized; we'll shave that down later and then install three braces that intersect with this brace and run the width of the back.

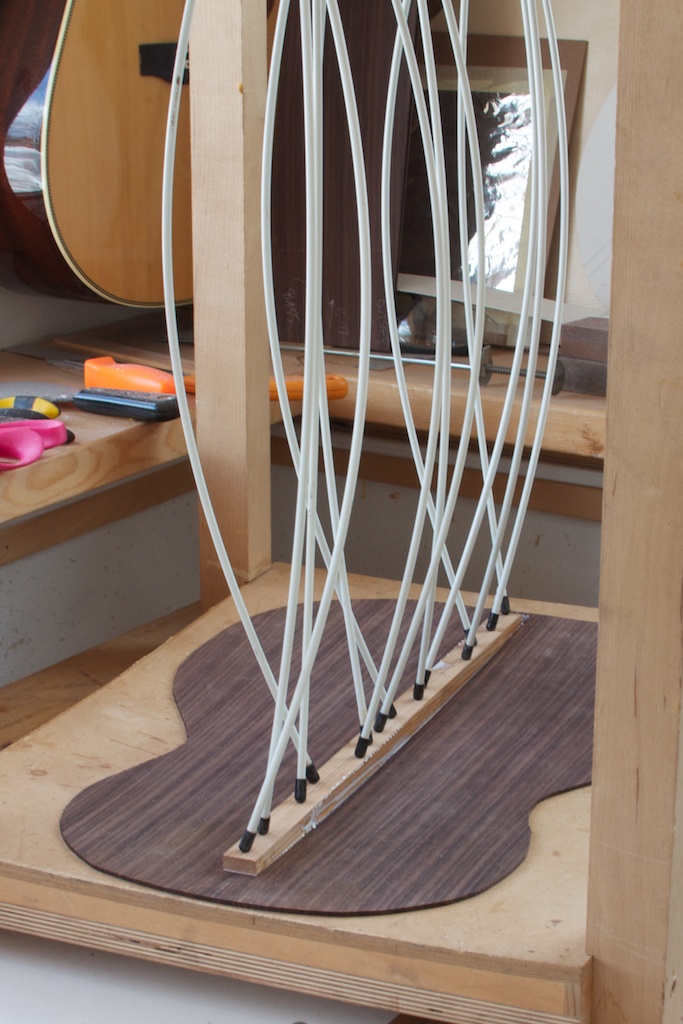
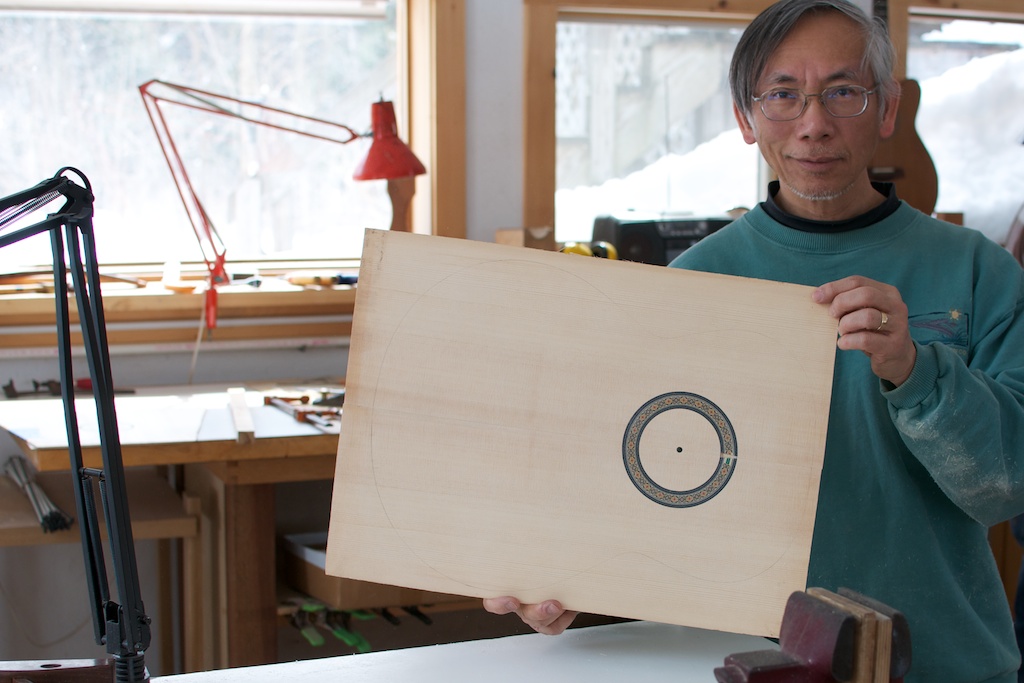
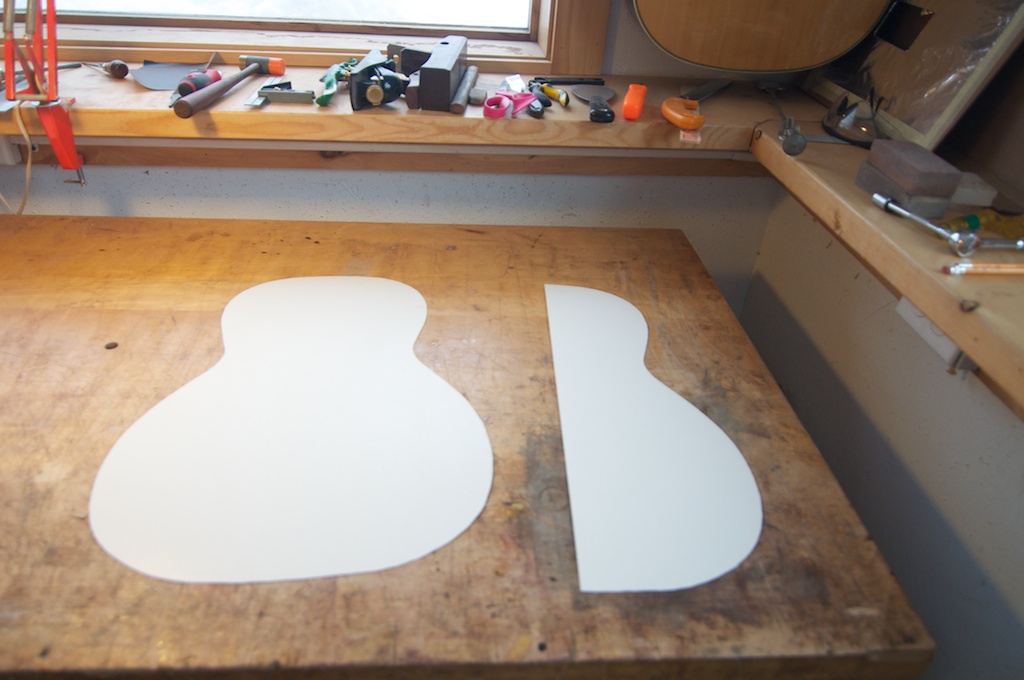
In addition to beginning to brace the back, we also did the bracing on the top. Most of us (at least those building steel string guitars) used a variation of the traditional Martin X-bracing system. Thanks to my iPad, I was able to quickly able to bring up a picture of the interior of a prewar Martin similar to the design I’m building, so I copied that as best I could. The bracing for the top was also glued on using the go bar deck, and in the next few days we’ll begin shaping the bracing.

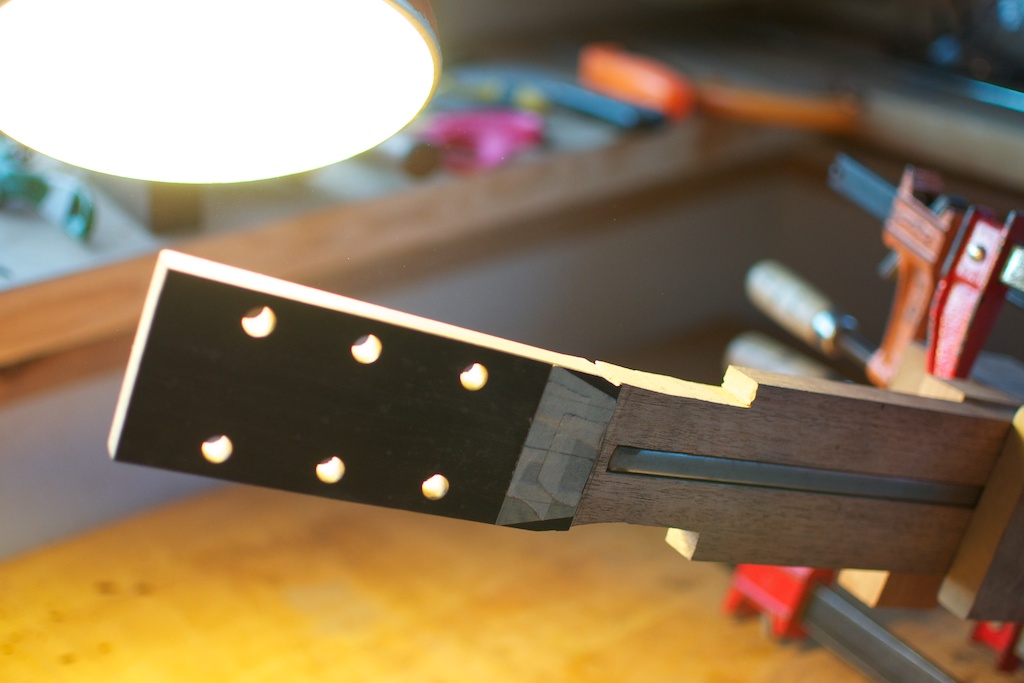
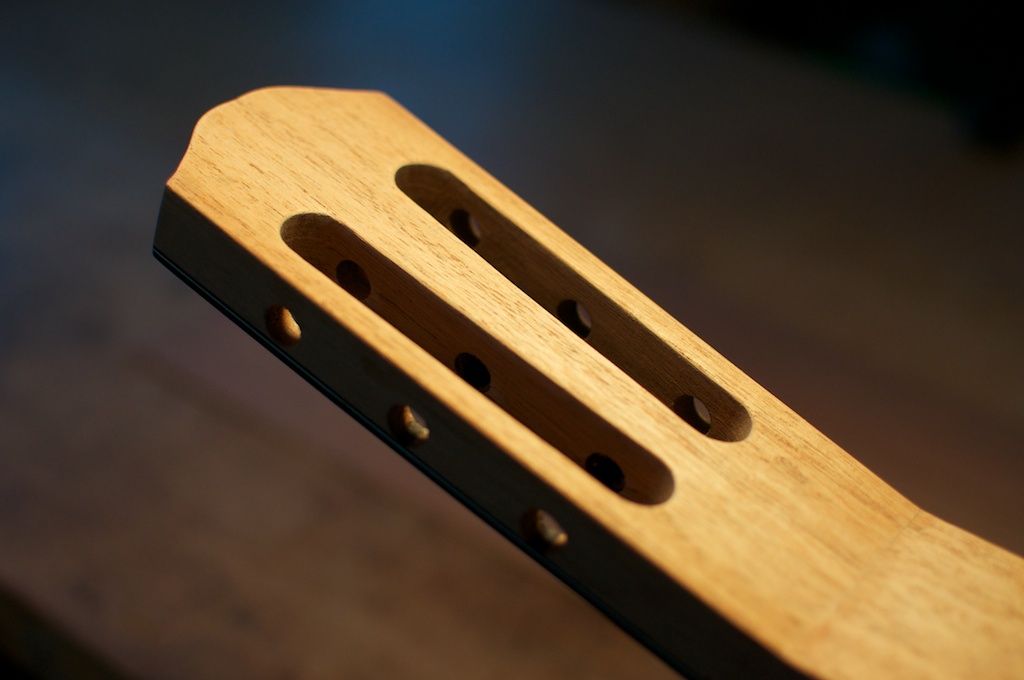
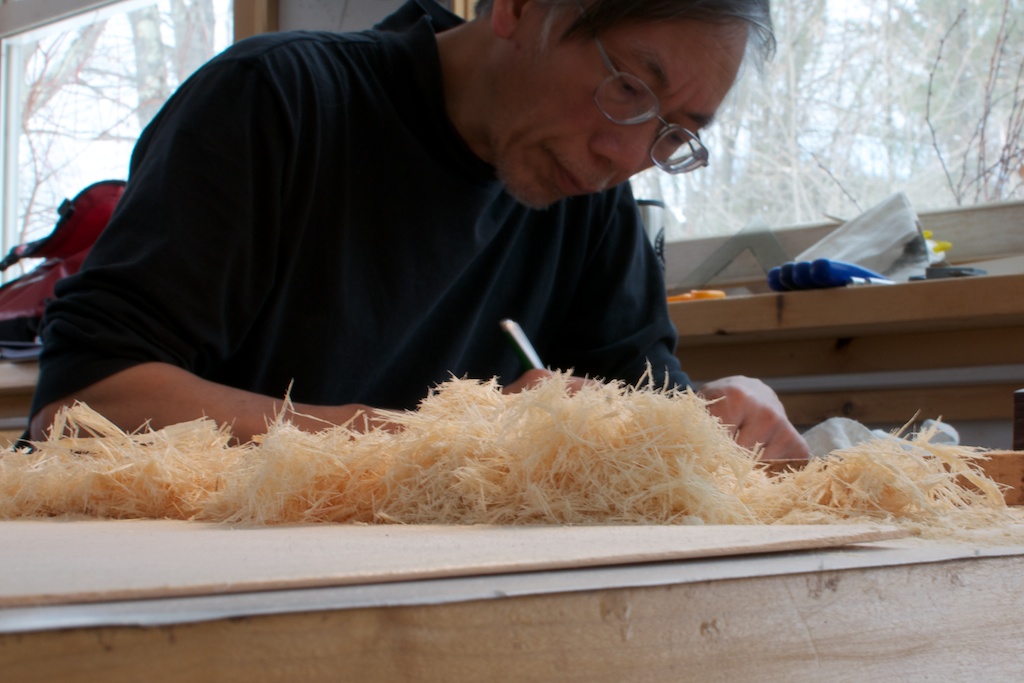
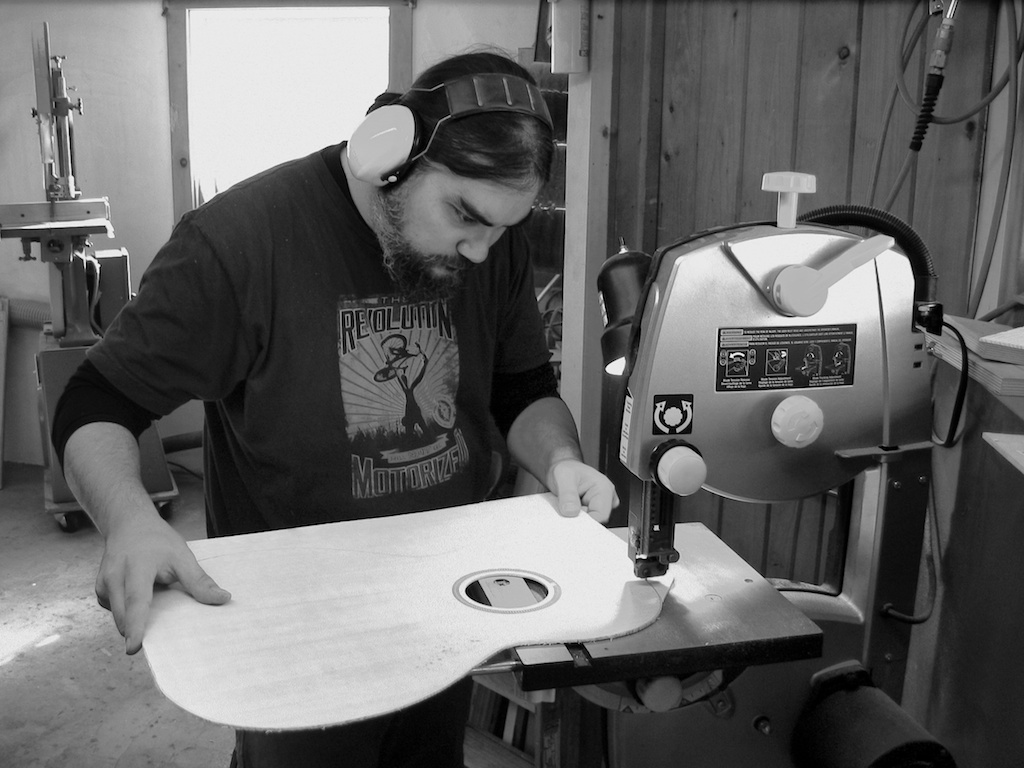
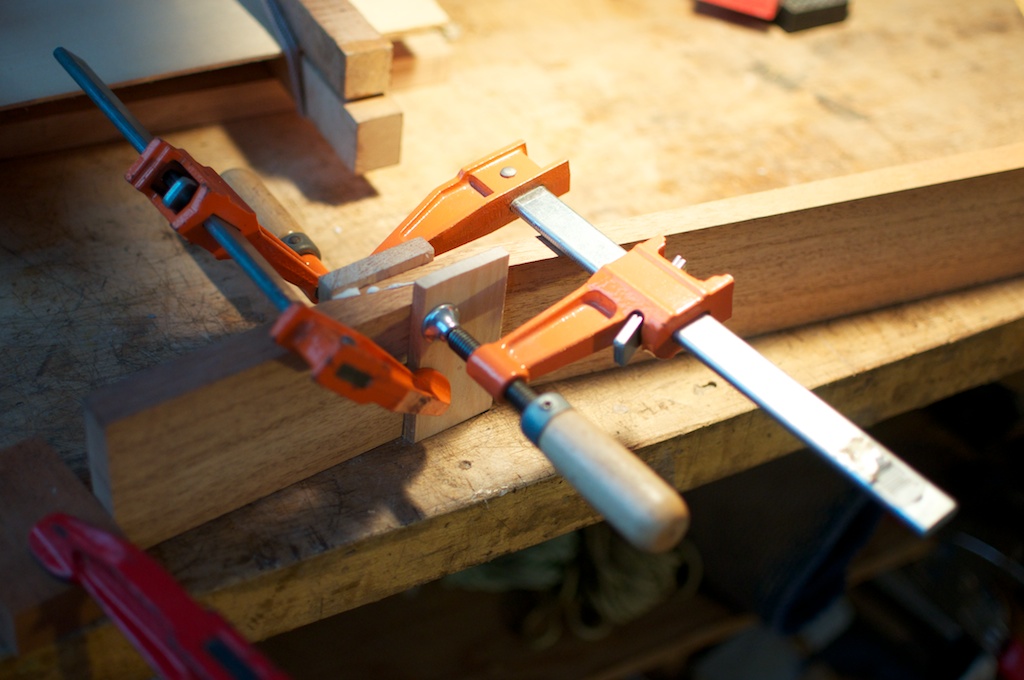
In between glueing bracing to the back and top, we continued doing some work on the neck, this time trimming down the “tongue” that will be inserted into the body. Anytime you take a bandsaw to the neck it’s traumatic, but with some careful measuring (“measure twice, cut once” evolved into “measure five times, cut once” for some of us) it all ended up okay.

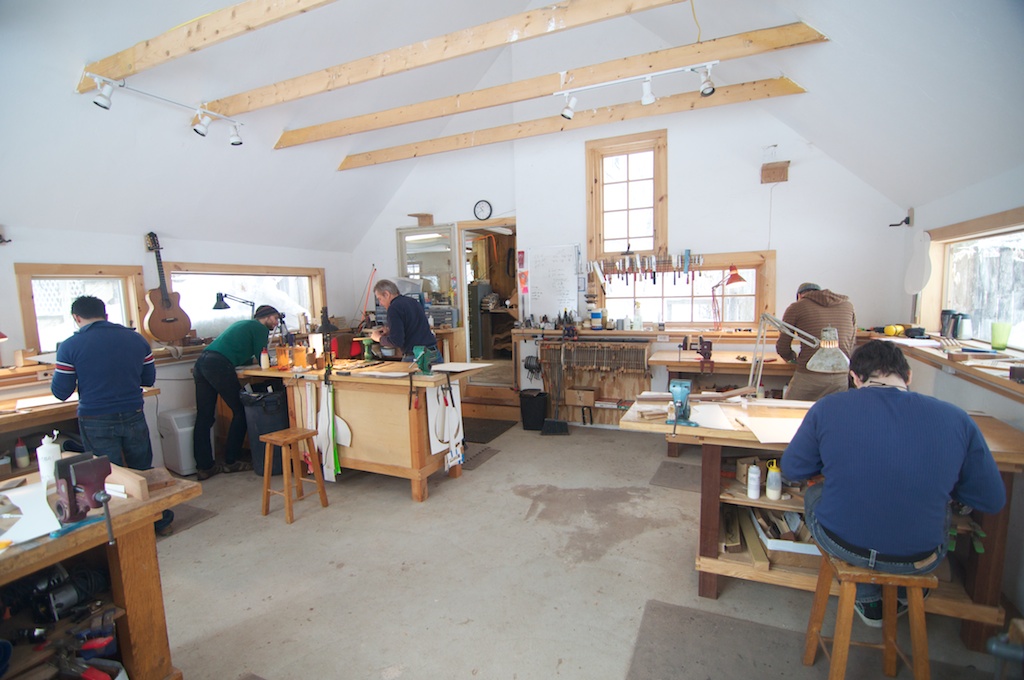
In the shop by 8am, home at 6:45 or so (although the last 45 minutes or so a few of us hung out chatting while others finished up the day’s tasks). Looking forward to bending sides and binding tomorrow!


Thursday
Mar242011

Day 4 - My fingers smell really great!

Day 4: Yesterday we joined two pieces of bookmatched wood into a single piece for the back of the guitar, letting it dry over night. This morning we continued working with the back, cleaning it, removing excess glue that had squeezed out, and working the thickness down to 110/1000" with our friend the metal scraper. In the second most scary operation of the day, we used the band saw to rough cut the back to the shape of the guitar (leaving about 1/4 - 1/2" all around the outline of the body).

We also continued working with the headstock, cutting it down to its final shape (except down near the transition area to the neck). The most anxiety-provoking operation to date was when we drilled the tuner holes. This is a pretty bold task, and there aren’t any easy (or at least unsightly) “undos” if you mess it up. With a bit of luck, mine seemed to go okay.

My headstock

The headstock for my dad's classical guitar

After lunch we chose wood for the sides, to match the back. I got a nice set of straight-grained rosewood that has a similar coloration to the back. Since the sides (as opposed to the back) fit through the thickness sander we didn’t have to manually scrape/plane them down to the proper thickness. We did have to clean them up a bit, but mine looked pretty good to start with. By the way, rosewood smells great! My hands are currently stained purple, but at least they are really sweet smelling. You’re probably wondering “who goes around sniffing their fingertips?” Well, if you haven’t spent two days working with rosewood, don’t laugh.

The design for the neck that George employs is really clever; from what I can tell, it’s similar to the Taylor “NT” design. I’m sure I’ll talk more about it later when when connect the neck and body, but today we worked on the heel area, which will include the hardware for the bolt-on hardware. It’s a three piece neck: headstock, neck shaft (for lack of a better term), and a stacked heel. Today we drilled the heel for a brass shaft that receives the bolts to attach the neck. Somehow I messed this up and drilled my hole slight off vertical by about 1/16”. That might not sound like a lot, but it could have been a serious problem if we hadn’t caught and corrected it. It was my first screw up, and hopefully (but probably not) the last! Finally, we glued the heel to the neck, and left it to dry overnight. 

Started working at 8:00am, left the workshop at 6:45pm.

My commute to and from "work" each day

Wednesday
Mar232011

Day 3 - Hey, that's already starting to look like a guitar!

Had a great night's sleep last night; my usual 7.5 hours of continuous Z’s. I woke up totally refreshed and hit the workshop at 8am.

Day 3: We started the day shaping the top for thickness; lots of planing, scraping, and sanding. I’m surprised how much we rely on the little metal scraper. It’s a very refined and useful tool, if you keep it sharp. Mostly we worked the back of the top (i.e., interior side) to get it ready for gluing bracing, but also we cleaned up the top around the rosette (which we installed yesterday and let dry overnight). The top is thicker in the middle (around the soundhole and bridge) than on the outer edges, which need to be more flexible to promote bass response. For my 00-sized guitar, that is about 125/1000” and 100/1000”, respectively; for bigger guitars it would be a shade thicker, and for classical and parlor guitars it would be a bit lighter. Thicknessing the top makes a huge stack of shavings!


Once the top was the right thickness, we cut out soundhole using a router and a similar technique to cutting the channel for the rosette, only this time we cut all the way through. We also rough cut the top into shape of the guitar using a band saw. This freaked me out a bit, since any mistake could cause a nasty cut into your top! I was very conservative and didn’t cut right on the line. Instead, I was few millimeters outside (i.e., too big). No big deal (so I’m told)-- I’ll trim that up later.

We also did some trimming up of the headstock and made a template for the shape and layout (e.g., where tuning pegs will go). I had previously been working on a design for a Gibson-inspired headstock shape, but since I’ve switched over to a Martin-style body I’ve now reverted to a simple squared-off design. A few weeks ago I took careful measurements of my D-18 and made a detailed diagram. That came in useful today, and my headstock template came together pretty quickly once I figured out where my center line was (i.e, you have to keep track of the true center of the guitar, which can slip to a side if you’re not careful).

Today we also picked out the wood for the back of our guitars (sides will come shortly, and it’s assumed that they will be the same as the back, although I suppose someone could get creative about it!). I was debating between a striking piece of zebra wood (which, low an behold, is a relatively light colored wood with dark bands) and a really nice straight-grained piece of Indian rosewood. The traditionalist in me went for the rosewood. Like the top, the back is made from two pieces that are joined (glued) in the middle.

Left the workshop at 8pm; pasta for dinner.

Tuesday
Mar222011

Days 1 and 2, and I'm already exhausted

Please pardon any forthcoming typos; I'll fix them later. It's late, we're only two days into the class, and I'm pooped. But it's more from the driving (three hours each way down to Albany to pick up my dad, and the accompanying four hours of sleep last night), not from the work (at least not yet). I am glad that my dad finally arrived!

A view of the shop

The view from my bench

Day 1: I worked double-time today, because my dad wasn’t here yet (he got in last night), doing each operation twice so that he wouldn’t have to start from scratch and catch up when he got here. Instead, he’ll have a partially build guitar waiting for him (approximately 1/18th of the way done), along with a few inches of fresh new snow that blew in today.

The two main tasks for today were joining the two halves of the top (from bookmatched, quarter-sawn sitka spruce) into one “guitar size” piece for the top. We selected tops, and prepared the edges (that would become the center line for the top) on a joiner and then with a router to get them as smooth and straight as possible. Then they were glued together and held tight (overnight) on a contraption of bars that was tightened using rope and wedges driven between the bars and rope to increase the tension.

We also selected wood for our necks, either mahogany or walnut (being a traditionalist when it comes to guitar design, I chose mahogany), and created the rough shape of the neck. This was done by cutting off a piece of the neck blank at an angle, and then gluing that angled piece (which will become the headstock) to the end of the remaining neck to create the rough shape of a proper guitar neck.

The above two tasks took most of the day. After class I drove down to Albany to pick my dad up at the airport; his flight arrived at midnight. We crashed there, and got up early to drive back to Vermont on Tuesday morning for class.

Day 2: Today’s tasks involved attaching the veneer to the headstock; I selected a simple piece of ebony with some subtle vertical striping (and didn’t do the more fancy black/white/black sandwich that the rest of the class did. Again, I’m a traditionalist, and if Martin doesn’t need to fancy up the headstock, I don’t either!). We also routed the channel for the truss rod.

We drew and cut our templates for our bodies, both in full and half-form. I had been planning on doing a Gibson-inspired guitar (like a L-00 or Nick Lucas), but templates for that shape weren’t available, so I chose a Martin 12-fret 00, with the general idea of doing a 00-21 ("double-O-21") style guitar.

Finally, after spending a lot of time working our tops smooth, we installed the rosette (the little patterned ring around the soundhole) into the top, by routing a channel around where the soundhole will be and inlaying the pre-fab (from LMI) rosettes. I chose a simple single herringbone ring.

Today was a long, but good day. Up at 5am, drove from Albany to Post Mills, and was in the shop from 9:30am 'til 8:30pm, with a hour for lunch and an hour for dinner. Looking forward to getting a full eight hours of sleep tonight!

Sunday
Mar202011

Separated at birth: Lutherie and social psychology?

I arrived safely in Vermont this afternoon (although I still have 3 more hours of Keith Richard's Life to get through), and in other news it looks like my dad will be able to get here tomorrow night, so he'll only miss one day of class.

After arriving at their home and workshop, George and his wife Pippa provided a fantastic home cooked meal for me and the other three students. Over our dinner conversation, in which George talked about his experiences as a luthier (a.k.a., the profession of guitar building) and about the processes we'll be doing over the next three weeks, it struck me that guitar building and social psychology are actually very similar in several key ways. Of course, take this with a grain of salt, since I haven't actually picked up a piece of wood or tool yet:

  • Both work under the apprentice model, in which you learn the craft from a more experienced mentor, taking on the techniques that s/he have developed, and then once mastering those, branching out and then deviating from those practices as you develop your own identity in the trade. There is likely a similarity that stems from a common ancestry within a particular tradition, but that as you become independent you also start to diverge.
  • At their core, lutherie and psychology (as well as other sciences) are about understanding the complex relationships between variables. How will this particular tonewood, shape of the braces, or thickness of the top combine to create a particular tonal voice? What other variables will I be accounting for (or not) in the decisions I'll be making along the way? You can't control everything at once, can you? (although as you become more experienced and sophisticated, you can take on more at a time.) Doesn't this sound a lot like designing and interpreting a research study? Don't I wish that I could run a multiple regression to predict how my guitar will sound? I'd try, but so far I haven't figured out how to get my data into SPSS.
  • With both you need to consider the big picture, but when it comes down to it, success occurs when you are able to focus on and succeed at the particular task at hand. A project is only as strong as the quality of the individual steps along the way. This was advice George gave us tonight: be attentive to each small task, and if executed well, together they will produce a good product.

I'm looking forward to getting into the workshop for the first time tomorrow. We'll be talking about some of the properties of wood and principles of acoustics, and also be making some of the decisions that will serve as the foundation for the rest of the class, and hopefully to some nice sounding guitars.

Saturday
Mar192011

All packed up!

Tomorrow is the big day! I'm driving up to Post Mills, VT to start the guitar building course at the Vermont Instruments School of Lutherie. I'm looking forward to meeting my fellow classmates and to spending some quality time with my dad (I'm tempted to insert a link to "Cat's in the Cradle" here, but that's a little sappy for my tastes). Everything is packed up; just need to load the camper in the morning. What's coming:

  • Food for the first few days: I made a huge vat of marinara sauce today, a couple of boxes of Clif bars, some fruit, and a few bags of various types of nuts (since my dad likes to snack).
  • Camera gear, since (obviously) I'm planning to document as much of the building process as I can.
  • My laptop, iPad, and other various devices (although my phone won't be much good, other than the drive up, since there's supposedly no cell phone service up there).
  • Some guitar building books, including the Somogyi and Cumpiano texts.
  • A couple of guitars, for me and my dad to play until we've got new, handbuilt guitars.
  • Plus the camper is always stocked up and ready to go, in case there's anything that I've forgotten.

I'm looking forward to finishing listening to the audiobook of Keith Richard's Life on the drive tomorrow. See you in Vermont!

Friday
Mar182011

A slight change of plans...

My dad's flight from Eugene was canceled today due to weather, so he didn't make it to Philadelphia tonight as planned. And for some reason, he can't get a flight until Monday night. I'm still leaving on Sunday for Vermont, and he's changed his flight to arrive up there (Albany) on Tuesday morning, so unfortunately he's going to miss the first 1.5 days of the class. I'll try to work double duty for those days so he's not too far behind :-)

By the way, the two times I've flown through Eugene I've been delayed or canceled. I think I'll probably avoid that airport for for a while.

Sunday
Mar132011

In a week....

...my dad (who is arriving Friday) and I will be in Vermont, getting settled in at the Vermont Instruments School of Lutherie for our three-week acoustic guitar building course. I've been talking about doing a class like this for years, and have been anxiously looking forward to this since I signed up last fall.

My dad will be building a classical (i.e., nylon string) guitar and I'll be doing a steel string instrument. I'm planning on building a small bodied Gibson-inspired guitar; maybe something along the lines of a Nick Lucas, or the modern interpretations like the Collings C-10 and Santa Cruz H/H13. I've spent the last couple of days trying to design a headstock shape that both honors the traditional Gibson design but is still (relatively) unique. It's getting close; I've got a couple of weeks to fine-tune the design.

I don't have any woodworking experience, at least not since junior high shop class when I made a spaghetti measurer. It will be a challenge to be patient and attentive to details, but these skills will be good for me to work on. Hopefully I'll return with all of my digits attached.

Page 1 2